20 December 2017

Drawing write up's

Face Drawings

Step by step

  1. Draw an ellipse shape.
  2. Draw a line through the centre of the oval vertically and horizontally.
  3. Make two marks where the edge of the nose should be.
  4. Draw two ellipses for the eye shapes on the line. 
  5. Make three points along the length of the nose at a varying distance to show the contours of the nose. 
  6. Connect these lines and add subtle nostrils. 
  7. position the mouth by drawing a flat line beneath the nose.
  8. Add eyelids by creating a curve for the over the eyes and create a curve for the eyebrows.
  9. Add a symmetrical curve for the cheeks from the corner of the eye and from the tip of the nose.
  10. Shape jawline.
  11. Begin to add hair to the hair and eyebrows, always reference here if you want to create a specific style.
  12. Finish the drawing by adding a flat line beneath the chin. 

drawings 


review

Over all these two drawings took be around 3 hours to complete simply because i took my time to add extra detail and shadowing to create a more realistic image, i used different shades of pencils to create depth and tone and ear buds in order to blend out my shading to create a softer shadow. Taking more time over you drawing makes the outcome of your drawing more detailed and realistic, With the simple steps listed above you can get a basic outline of your face and the structure, adding detail with shading portrays more structure and makes the image become 3D.


Final project and Evaluation

Final Project- Photography 


Evaluation 


Planning

I find it quite hard to plan photographs, as i feel planning them means that they look too fake. Therefore I simply planned the places and styles of the photographs not the actual structuring of the photographs, that way i think that they came out quite natural.

Artistic Techniques 

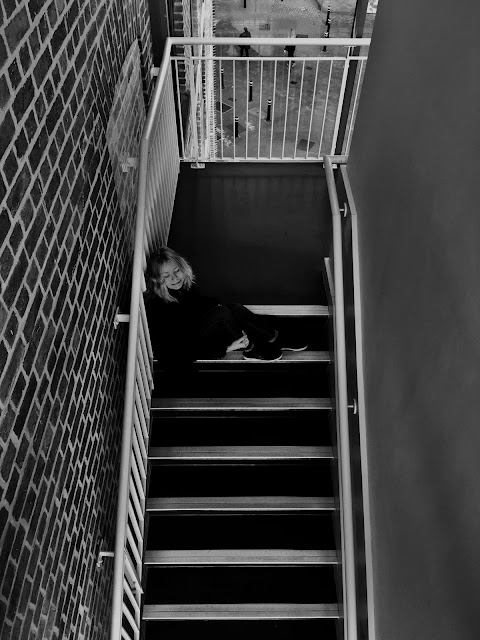
I used a number of different camera angles to take different shots for my photographs, this was so that i was able to get different perspectives and create different atmospheres in each image. To edit my images afterwards i didn't use a specific soft wear i simply used the already existing camera soft wear on iphone to edit and adjust the settings in the image. I used the settings to change the colouring, brightness, contrast , tone, shadowing ,lighting and black point in each image, this was to make the quality of the image the best that i could get it. Over all each image took around 3-4 minutes to edit.


Have they been successful?

Yes i think the majority of the images that i had taken were successful, however next time i will plan out my images more and make sure i have more scenarios and models in my images instead of repeating the same people in my photography. This is so i can create more variety in my images.

Inspiring artists 

Along the way of doing my research looking at different types of photographers and different areas in photography i have found many people who's work i find inspiring. A lot of the artists that i like do a lot of urban and street photography i find that i like the aesthetic and look of those images more than natural surroundings in photographs, that setting is kind of what i took as inspiration for my own images.


Overall

Overall i think my final piece has turned out quite well, i used a few different camera angles to create different perspectives and edited the images so that they stand out and are dramatic. I tried to portray shadow and light in my photographs to create tone.